I’ve described before that the deadlift feels like home to me, thanks to relatively long arms and a natural affinity for pulling. That doesn’t mean I have any talent in putting big numbers on the bar, but versus my other lifts, my deadlift is definitely a little ahead of the curve.
That being said, the deadlift is also one of the most varied movements you’ll see on the platform. People deadlift in a dozen different ways, varying their leg stance, their grip, the width of their grip, the degrees to which their hips drop, the angle at which their torso settles just before the lift, and about ten other factors.
Ultimately, how I deadlift has very little to do with how you’re supposed to deadlift. That being said, I can offer a little insight into why I deadlift the way I deadlift, and how you can play around with your lift to make it more comfortable, natural, or useful.
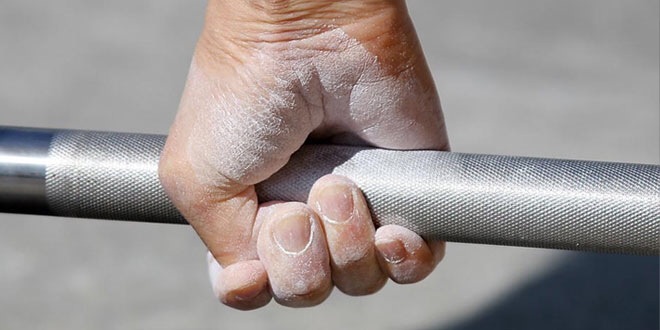
To get things out of the way, let’s talk about straps. Straps have their uses, although I typically do not use them. I grip with an overhand grip, relying on chalk and a hook grip to help. Unless I’m doing sets of 5+, I never need straps. I simply don’t deadlift enough to need straps, and I’ve only tried a mixed grip once and didn’t like it.
The biggest benefit of a mixed grip is that it requires less setup and allows you to much quicker go from standing to dropping into the deadlift and back up into lockout. If trained right, the mixed grip is probably the best way to pull a ton of weight. That being said, I just don’t like it, and I have big enough hands (and very flexible thumbs) allowing me to painlessly hook grip well over double my bodyweight, and probably more in the future.
Now, onto how I deadlift:
The Prep
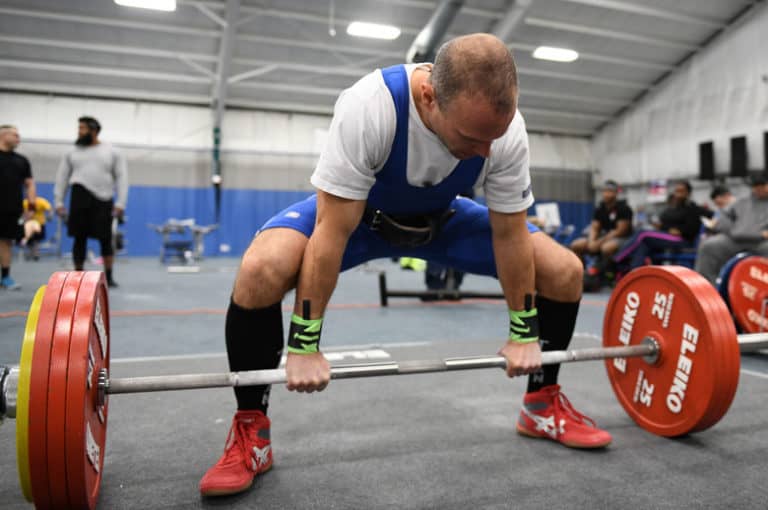
I deadlift both conventional and sumo but have been training mostly conventional as of lately. The set-up is pretty simple, following a general step-by-step mental checklist that I go over before every set:
- Walk up to the bar and make sure that it’s just over the center of my foot, roughly where my shoelaces are.
- Adjust my foot placement, so it’s about shoulder-width, and I point my toes outward and screw my knees out, consciously rotating my femurs in the hip so my legs are basically pressing outwards.
- Raise my arms, getting a stretch in the lats, then bring them down slowly, being conscious of my upper back.
- Set my hips under my spine, squeezing my glutes, and pull my ribcage in a little, so my spine is neutral all-throughout.
- Bend at the hips until my fingers are in reach of the bar, then I wrap them around the bar, first pushing my palms deep into the bar so I can get my thumb as far around the bar as possible, and my index and middle fingers as far over the thumb as possible.
- Set my hips in position, making sure to stay tight through my aforementioned cues. Now is the time for a deep belly breath.
- Pull my chest and upper abs closer to the bar, screwing my upper body and hips as close to the bar as possible, “wedging” under it.
- Initiate the movement with my quads, pushing first, focusing on pushing myself away from the ground while my lats and erectors do the job of keeping a straight back.
- Once I feel my legs have finished the “hard part” of extending just far enough to get the bar close to the knees, I finish the lift with a pull, pushing through the hips to achieve lock-out.
Getting Your Grip
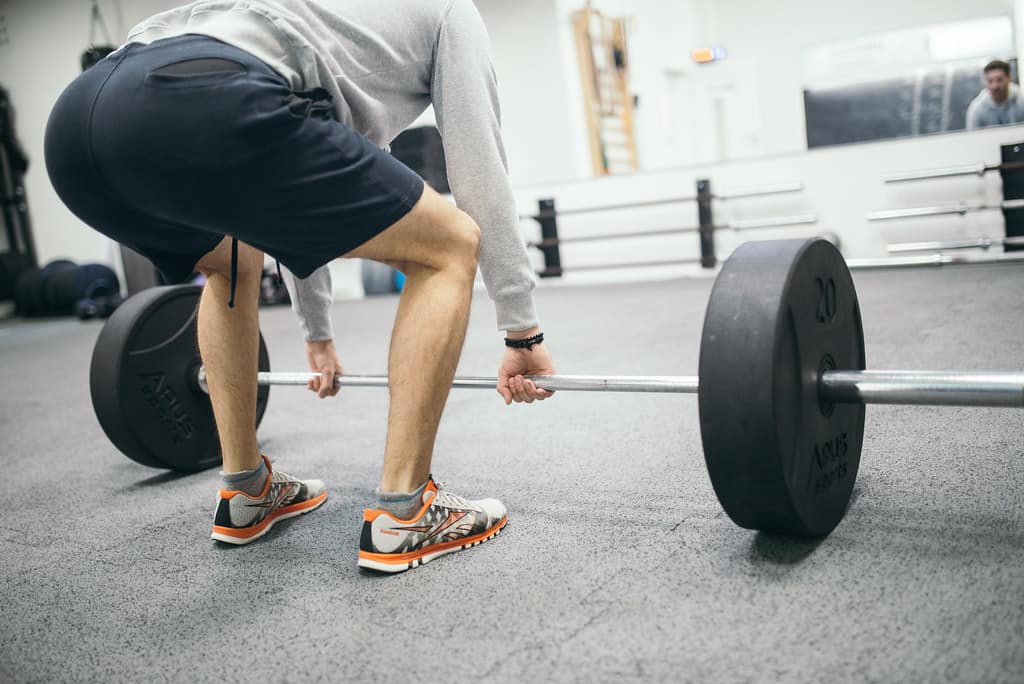
As mentioned previously, there are different ways to grip the bar. The only requirements are that:
- You grip outside of your knees in a conventional deadlift, and;
- You grip between your legs in a sumo deadlift.
Other than that, there are typically four ways to grab the barbell for a deadlift:
- Overhand grip, or regular grip. Just grab the bar the way you would when doing a barbell row, or a pullup. This is also called a pronated grip, which means your palms are facing towards you when deadlifting/away from you when doing pullups.
- Strapped grip, which is just a deadlift grip with straps. The straps typically rely on wrapping around the bar several times with nylon in order to produce as much friction as possible. If applied correctly, it’s usually impossible to fail a deadlift due to grip issues.
- Hook grip, which is a weightlifting grip used to lock the bar in your hands. This is a bit complex, and it takes most people a few tries to get it right. The first few times, it’s likely going to hurt you quite a bit. As you get used to it, it becomes a little less painful, but not really that much less painful. As they say, you gotta nut up. Hand size is a big issue IMO, and while smaller hands can still hook grip, I think they’ll have a harder time doing so. The longer your fingers, the easier the hook grip is. If you can’t use it consistently, practice on an overloaded rack pull until you can maintain it for a full deadlift and consider using athletic tape for your thumbs.
- Mixed grip, which is also used to keep the bar from rolling out of your hands. It’s best to alternate the way you pull mixed from training session to training session, to avoid imbalances. A mixed grip is simply gripping the bar with a pronated hand and a supinated (underhand) hand. This prevents the bar from rolling out of your fingers, as it would in a regular overhand grip. This is also why competing lifters don’t rely only on grip strength for their deadlifts, and you’ll almost never see someone on stage use an overhand grip when they can pull way more weight with a mixed grip or a hook grip.
Push Then Pull
One of the best ways to teach a movement is to break it down into parts. Then, you learn to string them together. In the case of the deadlift, after you’ve gone through the actual prep, you have to complete the lift itself. Many people are confused as to how to actually initiate the deadlift. Do you pull the weight? Use your back? Squat? Press your hips through?
There are different ways to go about it, but probably the simplest way to think of it is to break the deadlift down into a push, and then a pull. You start with a leg press, initiating the movement with your legs by pressing them deep down into the ground. Really try to picture pushing the weight of the entire world down, anchoring yourself on the bar in the process. Maintain a tight back while doing this to keep your spine safe.
Then, past the halfway point of the lift, continue by locking out with your back and hips. This is where the pull part comes into play. Because we’re not hitching here, your knees are basically out of the picture here. Focus on the hips, and on getting your chest up and out to finish the lockout.
Sumo & Conventional
The two most common styles for deadlifting are the sumo deadlift and the conventional deadlift. The difference is the placement of the hands and feet, and how that affects the lift itself. Bigger, stronger quads and longer legs tend to lend themselves better to the sumo deadlift, while shorter legs tend to lend themselves better to the conventional deadlift. Note that while the sumo deadlift is usually noted to have an “unfair advantage”, most world record-breaking deadlifts are done with a conventional style.
Sure, there are some people that have an incredibly tiny range of motion due to being both short and excelling at the sumo pull. But if it’s legal, it’s legal, and everyone should take as many advantages as possible to put as much weight on the bar as they can, if that’s what they care about.
As for which is better, it’s ultimately a matter of personal preference. There are short people who pull better one way than the other, and tall people who pull better one way than the other. Leverages play a role, but if you feel you can generally lift around the same weight both ways, it’s just a matter of which method you prefer.
Play around with your width, too. You don’t have to get your feet out as far as possible – some people maintain a pretty narrow sumo deadlift. Others go for a very wide conventional deadlift, which is also common among strongmen.
Don’t Squat the Deadlift
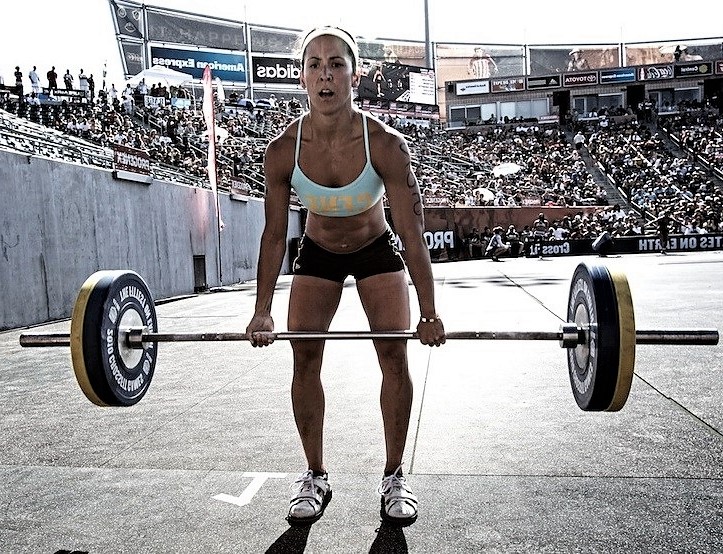
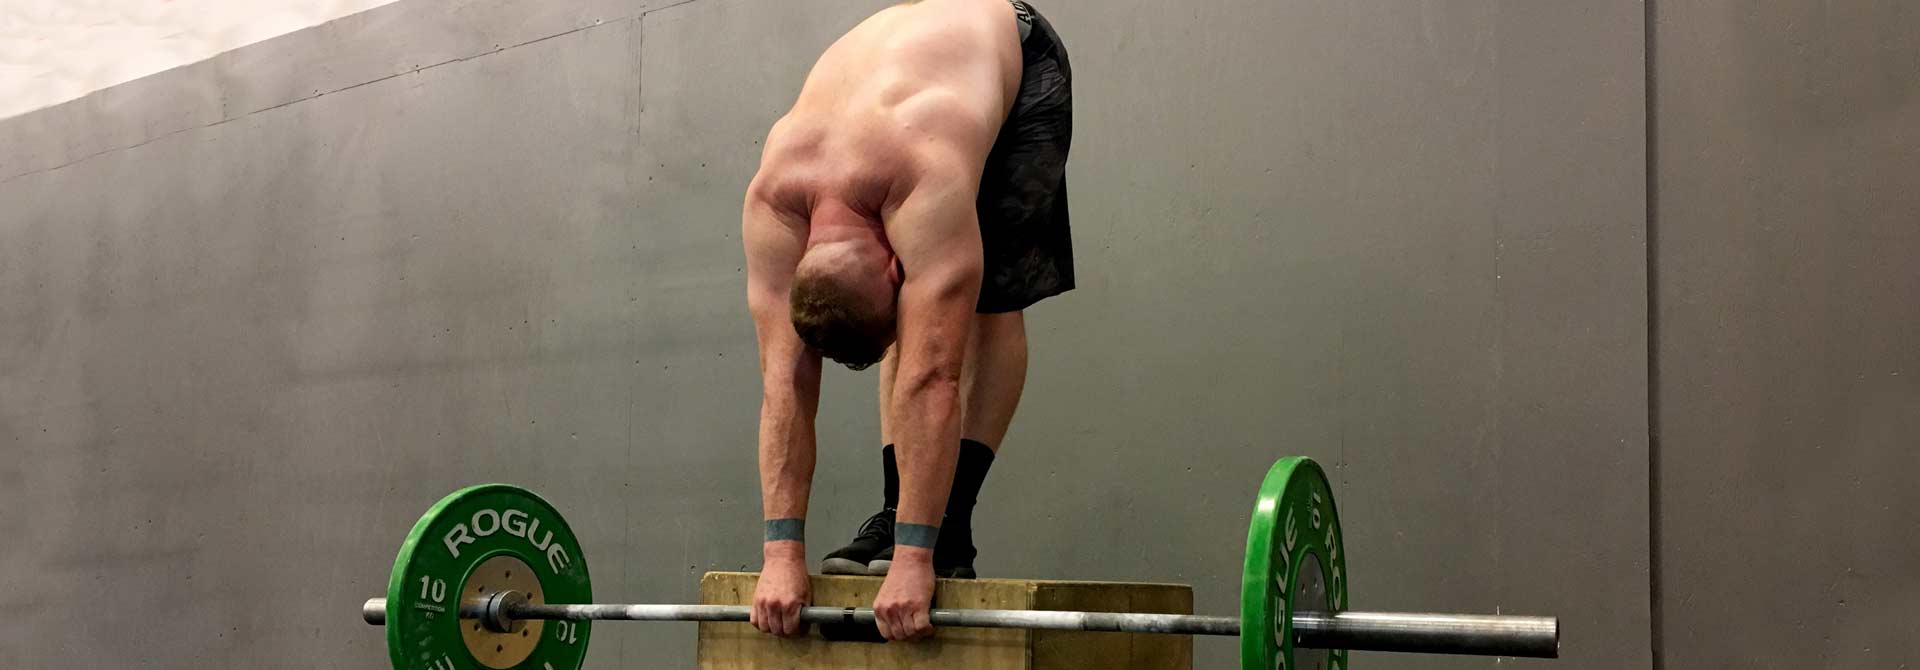
Perhaps the most important piece of information is that you shouldn’t squat your deadlift. Don’t drop your hips under your knees. Wedging the deadlift means applying as much tightness and tension to your lift as possible, but it doesn’t mean you should drop your hips so far down that you start levering the weight up with your own bodyweight. It’s confusing, but it makes more sense in video form. If you do intentionally drop your hips, the first thing you’ll notice is that your hips will actually scoot back up on their own if you’re doing a heavy deadlift.
The same goes for your shoulders – you can’t keep your shoulders perfectly over the bar, and they’ll always track over the bar by about an inch or so. The only way to change this is to purposefully round your upper back, which is a technique only applied by a few very, very strong and highly trained individuals. Don’t attempt to do this unless you’re already lifting elite levels of weight.
Want to lift heavier and avoid injuries? 💪🔥
Download our FREE '5-Minute Warm-Up Routine for Maximum Lifting Performance' and get primed for every workout!
Click below to grab your copy now!👇
👉 Download the Free Guide
